React Project: Build and Deploy A Search Filter Tool Using React and Netlify--(Part 2)

Web developer
Main Project Setup and House Cleaning
To view the live app we will be building, click here.
For best viewing use a web browser.
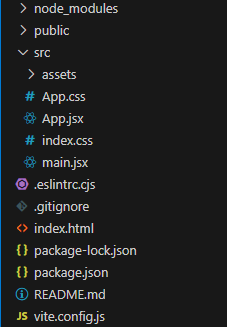
Open up Vscode and make sure the folder structure looks exactly like this;
Install React-Bootstrap and Bootstrap using this command:
npm install react-bootstrap bootstrap@4.6.0
Open the App.jsx and delete everything in it.
Do the same for App.css and delete index.css
Delete the line import './index.css' from the main.jsx file.
You should have a completely blank page by now when your app re-renders.
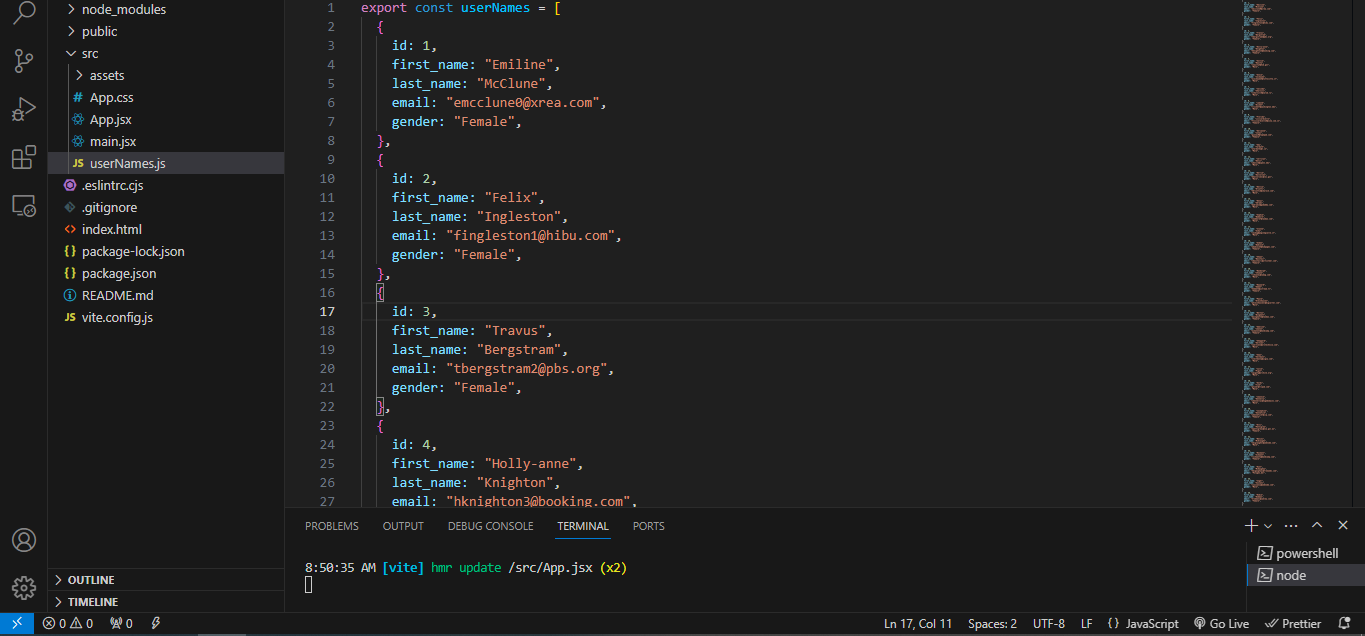
Download userNames.js(just a list of 1000 objects containing different values stored in an array) and move it into the src folder.
Download this image for the background of the app and save it in the assets folder found within the src folder.
Coding the App
Copy the code below into App.jsx.
import { useState } from "react";
import Table from "react-bootstrap/Table";
import Container from "react-bootstrap/Container";
import { userNames } from "./userNames";
import "bootstrap/dist/css/bootstrap.min.css";
import "./App.css";
import { useState } from "react";
Uses ES6 syntax import to import useState hook into our app.
import Table from "react-bootstrap/Table";
Imports a table component from React-Bootstrap library.
import Container from "react-bootstrap/Container";
Imports a container component from React-Bootstrap library.
import { userNames } from "./userNames";
Imports the userNames array from userNames.js.
import "bootstrap/dist/css/bootstrap.min.css";
Imports Bootstrap(a popular frontend framework) stylesheets used in conjunction with React-Bootstrap
import "./App.css";
Imports our external CSS file into the app
Next copy the code below to update the app:
import { useState } from "react";
import Table from "react-bootstrap/Table";
import Container from "react-bootstrap/Container";
import { userNames } from "./userNames";
import "bootstrap/dist/css/bootstrap.min.css";
import "./App.css";

function App() {
  return <div className="app">

  </div>;
}

export default App;
function App(){return <div></div> }
This is a function that houses the main logic of the application and an html-like syntax called JSX and returns a div with classnameapp
export default App;
This is an ES6 syntax for exporting the app so it can be accessed and rendered inside main.jsx.
Update your code with the following:
import { useState } from "react";
import Table from "react-bootstrap/Table";
import Container from "react-bootstrap/Container";
import { userNames } from "./userNames";
import "bootstrap/dist/css/bootstrap.min.css";
import "./App.css";

function App() {
  const [query, setQuery] = useState("");
  return (
    <div className="app">
      <h1 className="heading">Contact Search</h1>
      <input
        type="text"
        placeholder="search"
        className="search"
        onChange={(event) => setQuery(event.target.value)}
      />

    </div>
  )
}

export default App;
const [query, setQuery] = useState("");
This line of code calls the useState() function(hook) and returns two elements using array destructuring.
The first element query is the state variable(basically stores state initialized inside the useState() hook and the second element is a setQuery function which updates the state within query. The useState("") hook is currently empty.
onChange={(event) => setQuery(event.target.value)}
The onChange event handler is an html attribute that has a value of a function that takes a parameter event and returns another function. In this case the arrow function () => returns setQuery() which takes event.target.value as a parameter.
When an event(typing or mouse actions etc...) takes place, the browser creates an object called event that stores information about the event that just took place.
This information contains details about the type of event that took place especially if the event is what the code is looking out for.
event.target refers to the kind of input we are looking out for in terms of a valid "event" taking place so to speak(could be a typing, clicking etc...) and this is retrieved from the just created event object.
event.target.value refers to the value entered by the user in the input field that triggered the event (any character in the search bar)
So what this means is that, the setQuery(event.target.value) function uses a user's input that's captured by the event object in the browser to change the state of the query
Now save the file and open up Chrome.
The page should look like this:

Delete everything inside the index.html file and paste the following code inside:
<!DOCTYPE html>
<html lang="en">
  <head>
    <meta charset="UTF-8" />
    <link rel="icon" type="image/svg+xml" href="/455705.png" />
    <link rel="preconnect" href="https://fonts.googleapis.com" />
    <link rel="preconnect" href="https://fonts.gstatic.com" crossorigin />
    <link
      href="https://fonts.googleapis.com/css2?family=Open+Sans:ital,wght@0,300..800;1,300..800&display=swap"
      rel="stylesheet"
    />
    <link rel="preconnect" href="https://fonts.googleapis.com" />
    <link rel="preconnect" href="https://fonts.gstatic.com" crossorigin />
    <link
      href="https://fonts.googleapis.com/css2?family=Gabarito:wght@400..900&family=Open+Sans:ital,wght@0,300..800;1,300..800&display=swap"
      rel="stylesheet"
    />
    <meta name="viewport" content="width=device-width, initial-scale=1.0" />
    <title>Contact Search</title>
  </head>
  <body>
    <div id="root"></div>
    <script type="module" src="/src/main.jsx"></script>
  </body>
</html>
This adds some CDNs of font families to our css file using Google fonts.
Add the following code to App.css to style the page and the search bar.
html {
  margin-top: 0;
  background: url("./assets/bg6.jpg") no-repeat center center fixed;
}

body {
  background: rgba(0, 0, 0, 0);
  margin-top: 0;
  height: 100%;
  color: white;
  font-family: Arial;
  padding: 0px;
  margin: 0px;
  font-family: "Open Sans", sans-serif;
}

.app {
  margin: 50px;
  display: flex;
  flex-direction: column;
  align-items: center;
}

.heading {
  padding-bottom: 20px;
  color: rgb(48, 47, 47);
  font-family: "Gabarito", sans-serif;
  font-size: 100px;
}
.search {
  padding: 4px;
  font-size: 16px;
  width: 50%;
  border-radius: 8px;
  padding-left: 25px;
  margin-bottom: 50px;
  outline: none;
}
The updated page should look like this:

Update the App.jsx file with the following code:
import { useState } from "react";
import Table from "react-bootstrap/Table";
import Container from "react-bootstrap/Container";
import { userNames } from "./userNames";
import "bootstrap/dist/css/bootstrap.min.css";
import "./App.css";

function App() {
  const [query, setQuery] = useState("");

  return (
    <div className="app">
      <h1 className="heading">Contact Search</h1>
      <input
        type="text"
        placeholder="search"
        className="search"
        onChange={(event) => setQuery(event.target.value)}
      />
      <Container>
        <Table striped border hover responsive>
          <thead>
            <tr>
              <th>First Name</th>
              <th>Last Name</th>
              <th>Email</th>
              <th>Gender</th>
            </tr>
          </thead>
          <tbody>
            {userNames
              .filter((user) => user.first_name.toLowerCase().includes(query))
              .map((user) => (
                <tr>
                  <td>{user.first_name}</td>
                  <td>{user.last_name}</td>
                  <td>{user.email}</td>
                  <td>{user.gender}</td>
                </tr>
              ))}
          </tbody>
        </Table>
      </Container>
    </div>
  );
}

export default App;
<Container>
This tag wraps around the Table tag(this is the conventional way of writing the syntax).
<Table>
This tag contains some properties (striped border hover responsive) to better define it's structure and in this case also make it responsive for mobile devices.
<thead>
This is used to represent the header section which contains one row.
<tr>
This represents a row.
<th>
This stands for column headers( in the app the headers are First Name, Last Name, Email and Gender).
<tbody>
This is used to group cells in the main body of a table .
<td>
This tag is used to define a cell in a table.
.map()
This method iterates over the userNames array by passing an anonymous arrowfunction() => () as an argument that takes user as a parameter.
The parameter user represents each object in the array userNames
user.first_name
This expression allows us to access each first_nameproperty (prop) of every object in the userNames array which then displays it's associated value.
So this expression user.first_name displays the first value "Emiline" of the first object to the 1000th value of the 1000th object which is "Emmit".
The following expressions user.last_name, user.email and user.gender all use the same approach to access the their individual properties.
.filter()
This method creates a condition that our query string has to meet by converting all search inputs to lowercase since this is the default case for most users. The method .toLowerCase() is purposely built to achieve this. We convert to lowercase to match the case of our search item.
The .includes() method makes sure that every query change is captured and processed by the preceding methods (.filter() and .toLowerCase())
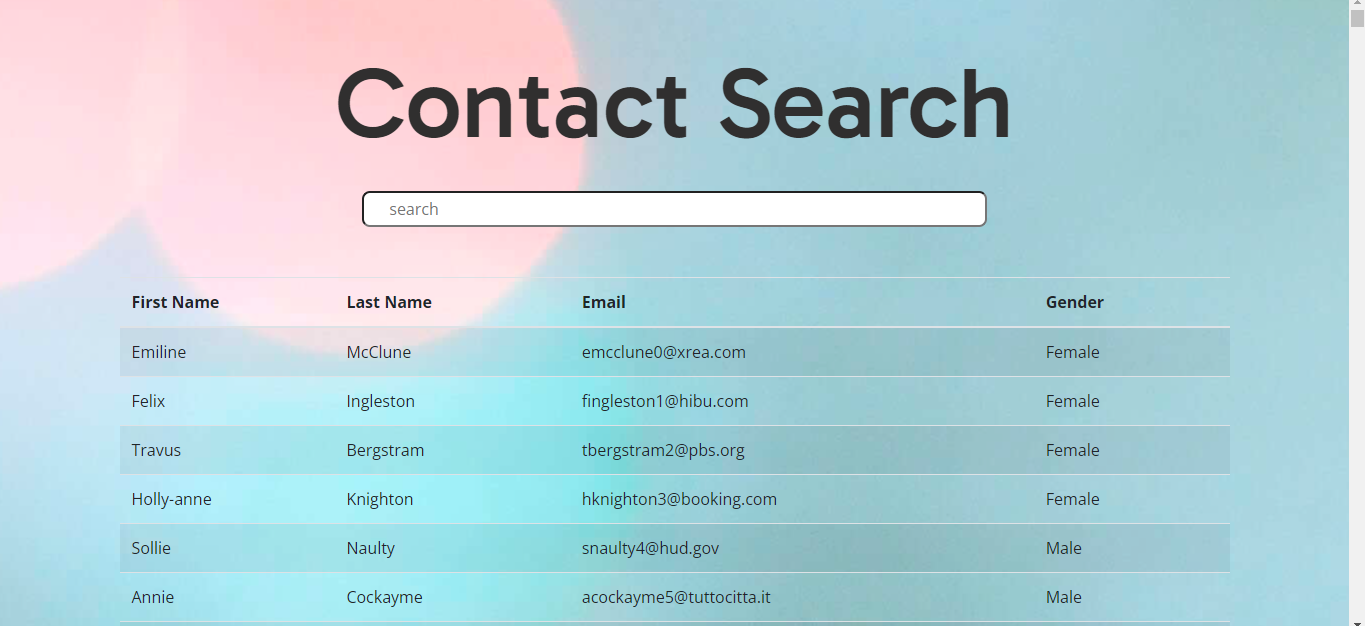
The final result should look like this.
Testing with Vitest
The purpose of testing apps is to make sure the app is devoid of common errors, run as expected whiles meeting predefined requirements and to also help build confidence in the quality of the app being released. It's not completely bulletproof but it helps push more reliable code to production.
We will be using Vitest testing library to test our components.
In the vite-project folder install Vitest using the following code:
npm install -D vitest
Open the package.JSON file and add a test command to the list of commands following the already laid down format.
Your updated JSON file should look like this:
"scripts": {
    "dev": "vite",
    "test": "vitest",
    "build": "vite build",
    "lint": "eslint . --ext js,jsx --report-unused-disable-directives --max-warnings 0",
    "preview": "vite preview"
  },
In the src folder create a new folder called tests. Inside this folder create a file and name it app.test.jsx
Paste the code below into this file:
import { describe, it, expect } from "vitest";

describe(" Example Suite", () => {
  it("should pass", () => {
    const sum = 2 + 2;
    expect(sum).toEqual(4);
  });
});
import { describe, it, expect } from "vitest";
This line of code imports a group of functions from the Vitest library to run the test.
describe()
This function groups related tests and takes a string and a call back function as arguments. The string indicates what the group of test will do and the call back function contains the logic for the tests.
it()
This defines a set of related expectations. It receives the test name and a function that holds the expectations to test.
expect()
This function is used to confirm that something in your code is working the way it should.
For example, if you have a function in your code that’s supposed to add two numbers together, you could use expect() to make sure it’s doing its job correctly.
So in the test case above we are assigning the sum of 2 + 2 to the sum variable. The sum variable is then passed as an argument in the expect() function and we expect it to equal the number 4 which is being passed as an argument in the .toEqual() method.
Run the following code in your terminal to execute the test
npm run test
The test should pass all cases and show a screen like the image below:

If it doesn't please repeat the process from the beginning.
Building and Deploying to Netlify
The build stage packages the app into a production-ready(ready to be hosted and accessed remotely by persons other than the developer) version of the app.
Run the following command to build the app
npm run build
After the build process completes, you will find a new folder named dist in the vite-project folder.
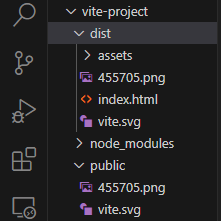
Right-click on vite-project folder and click on "reveal in explorer" option. Double click on this folder in the explorer window to find the dist folder.
Go to netlify.com, create an account and login.
Netlify provides a serverless solution (we don't need to buy, configure and manage our own physical servers) which runs in the cloud (another company owns the physical servers and shares resources with us for free or at a cost) to help us deploy our app remotely.
From the menu on the left click on the "sites" option.
Find the "Add new site" button and then select "deploy manually". You should see this page open:
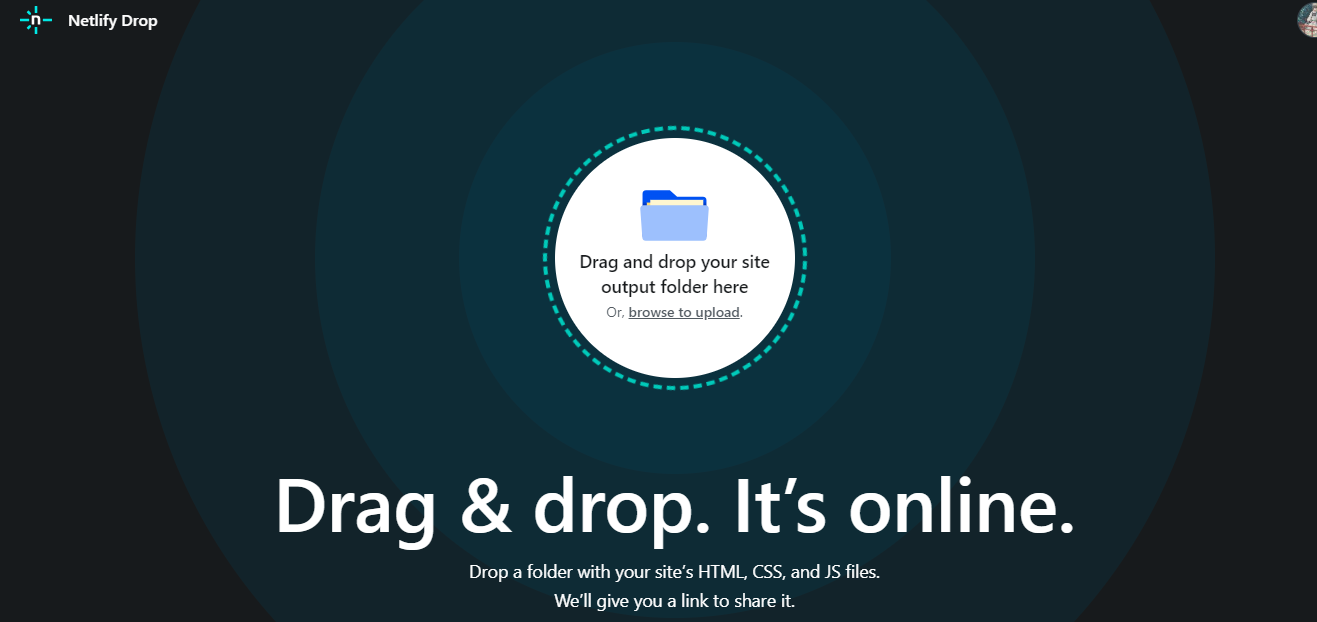
Locate your dist folder and drag & drop it right into this page.
Should the upload be successful you will see this page.
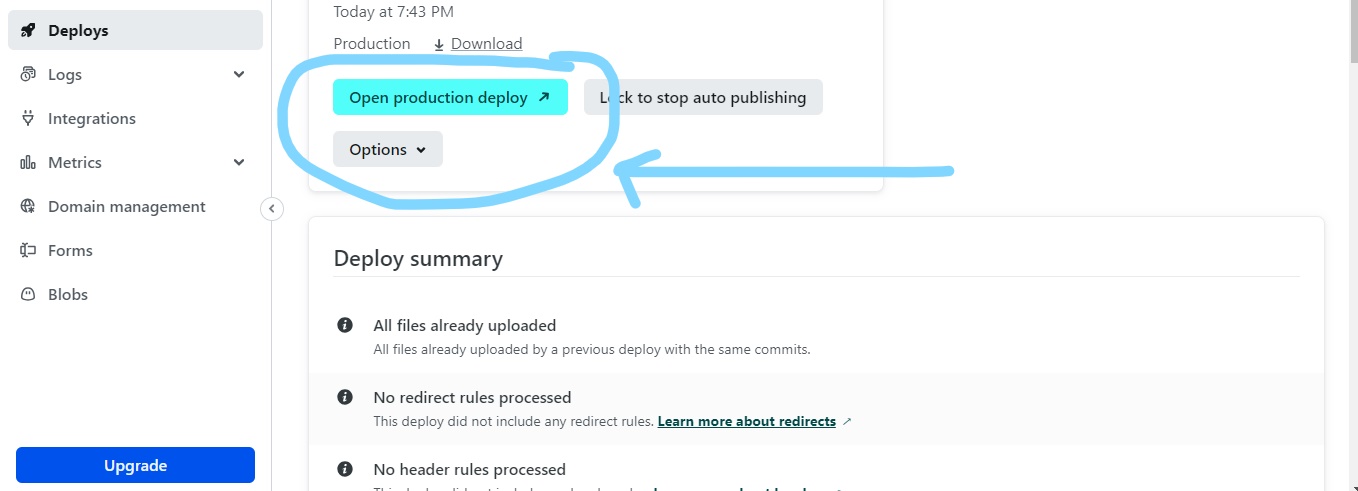
Click on " Open production deploy" to view the app you just deployed.

As you can see localhost has been replaced in the address bar by a new url which means the site is available elsewhere other than the computer used to build it.
*/


